
Invisalign gallery

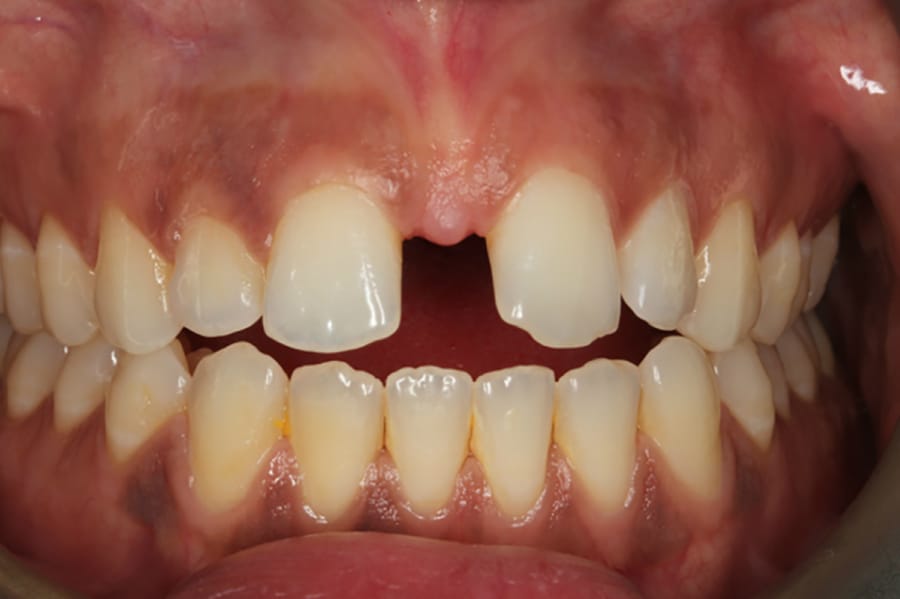
Dental implants gallery

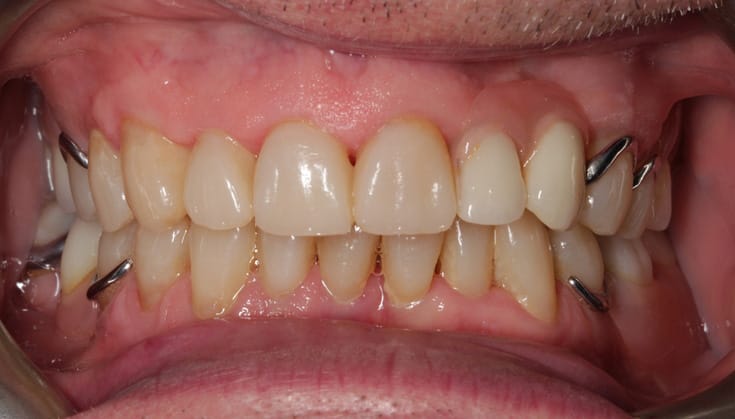
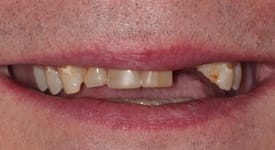
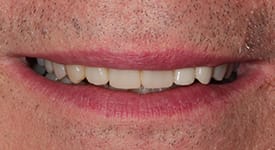
Replacement of missing teeth with dental implants and a partial overdenture.
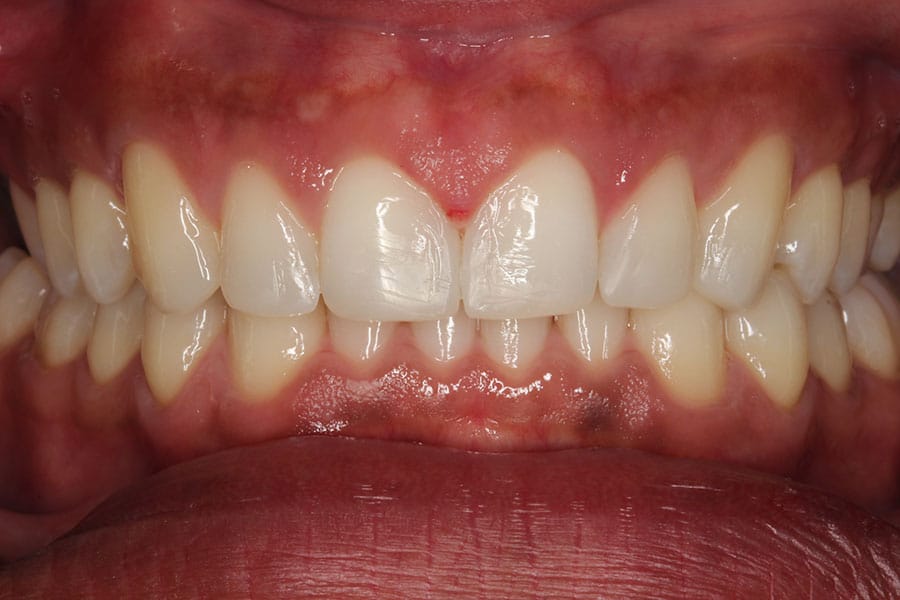
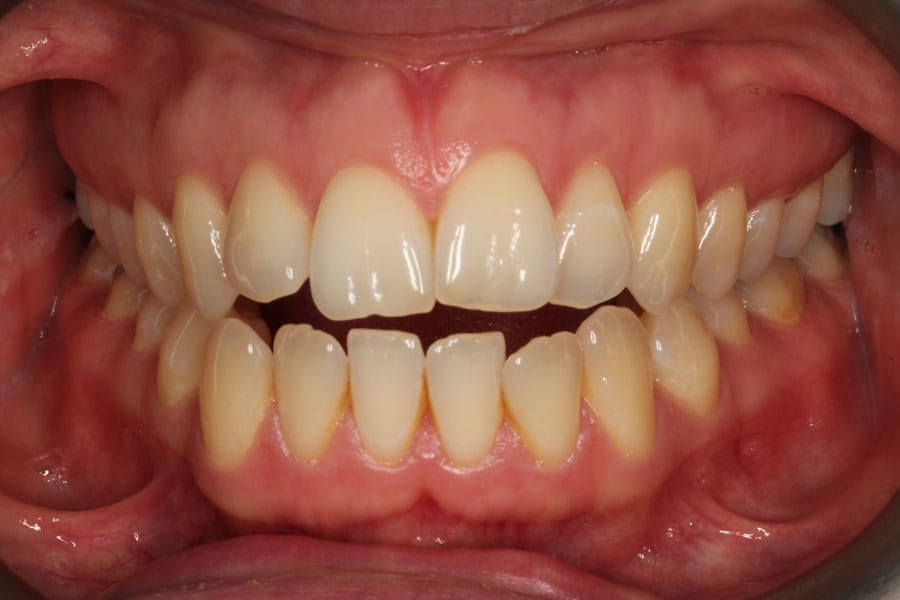
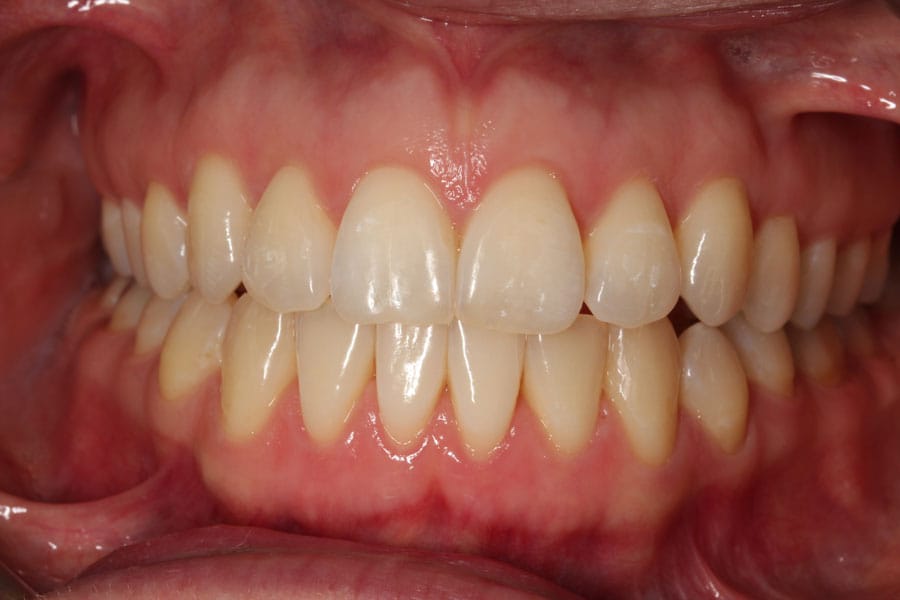
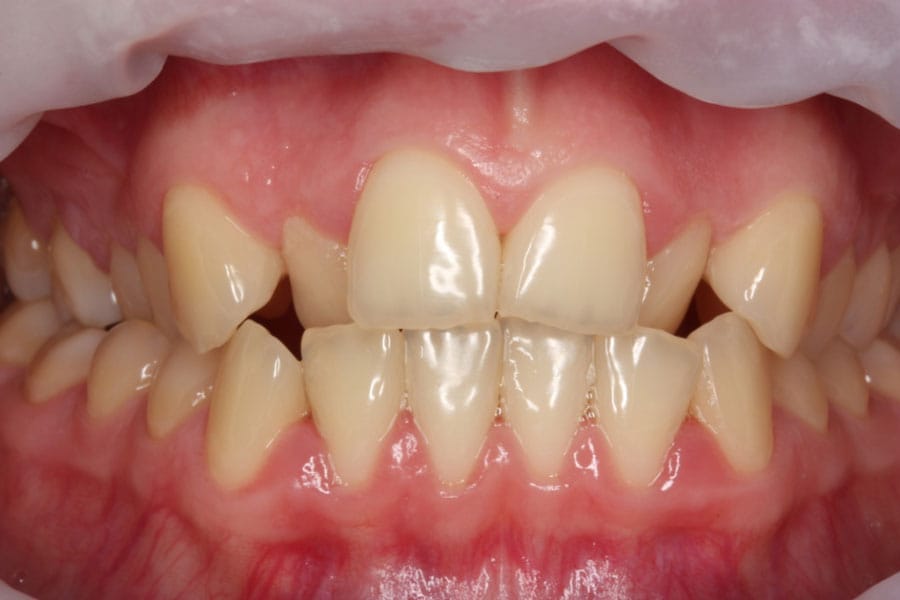
Tooth wear gallery

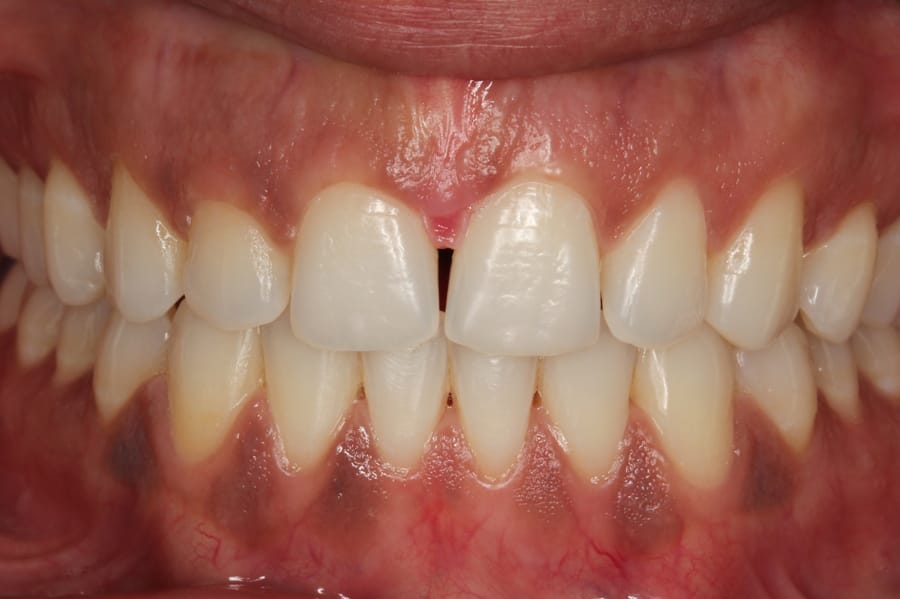
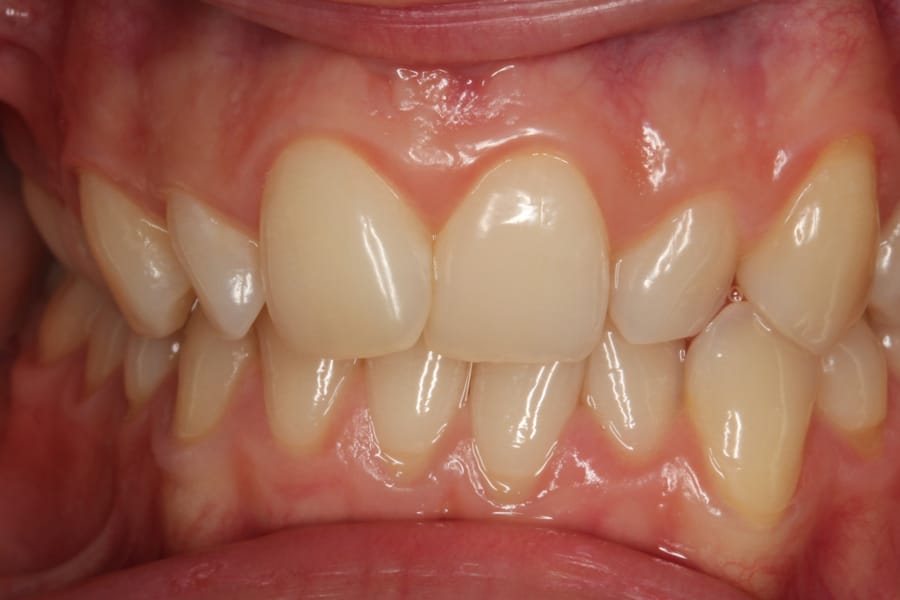
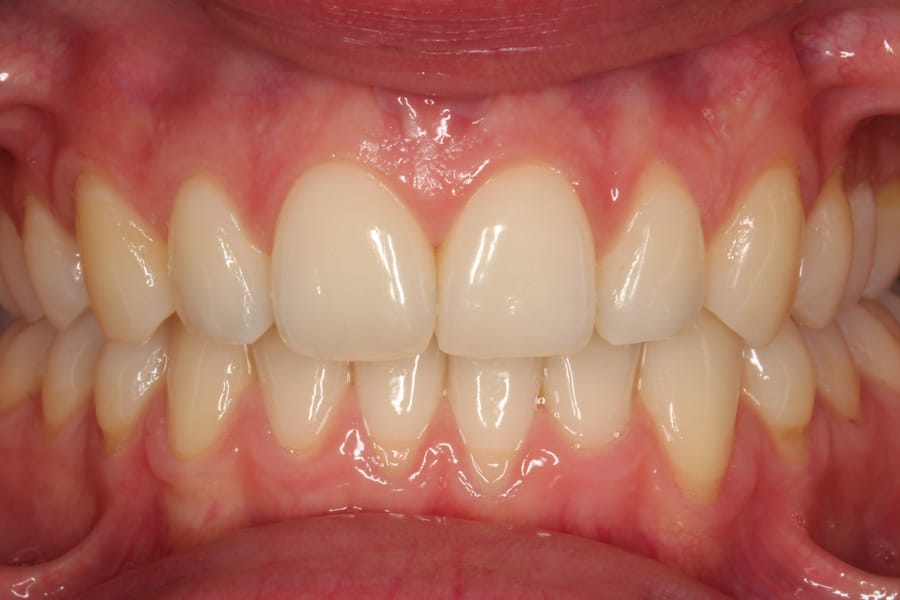
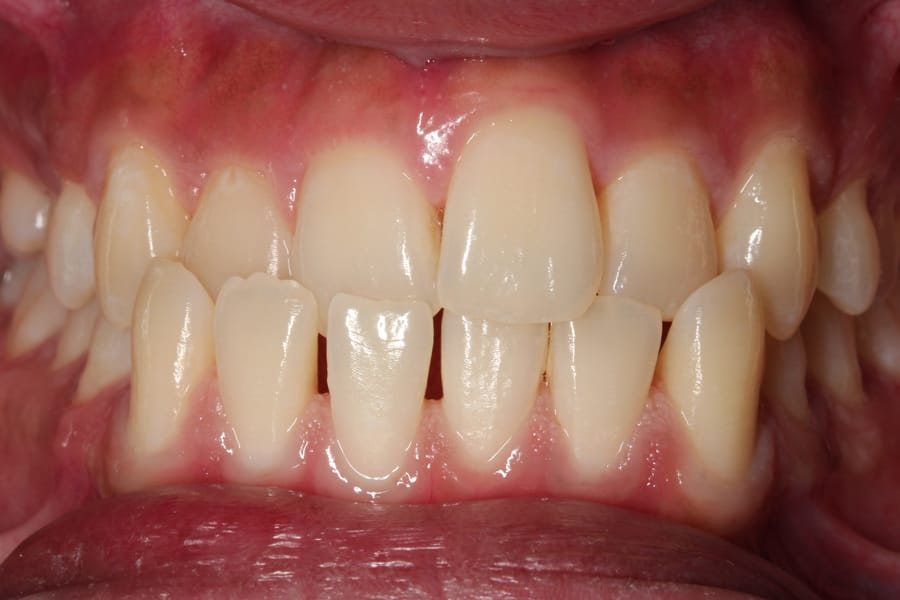
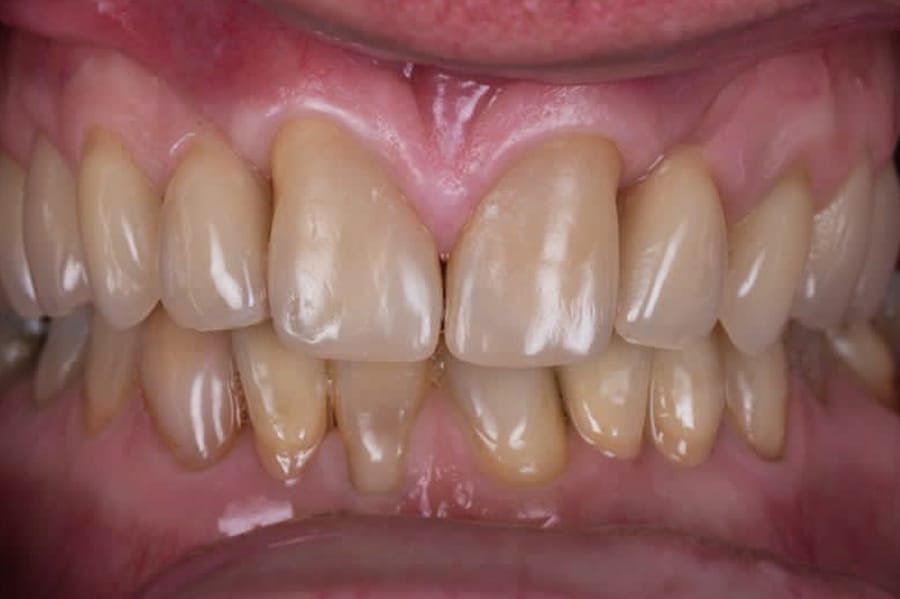
Management of toothwear with crowns and veneers.
Composite veneers gallery

Replacement of failing composite restorations with composite veneers.
-
-


Denture gallery
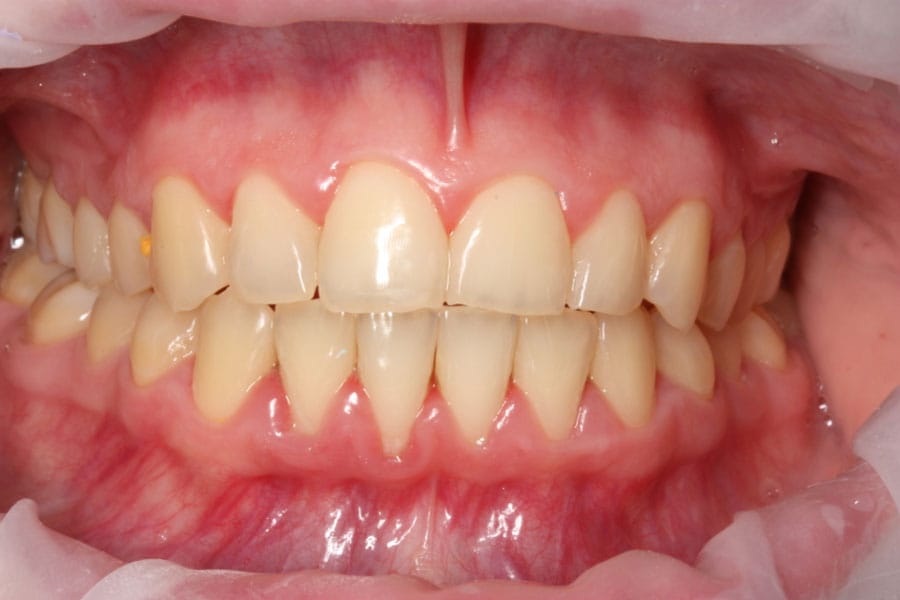
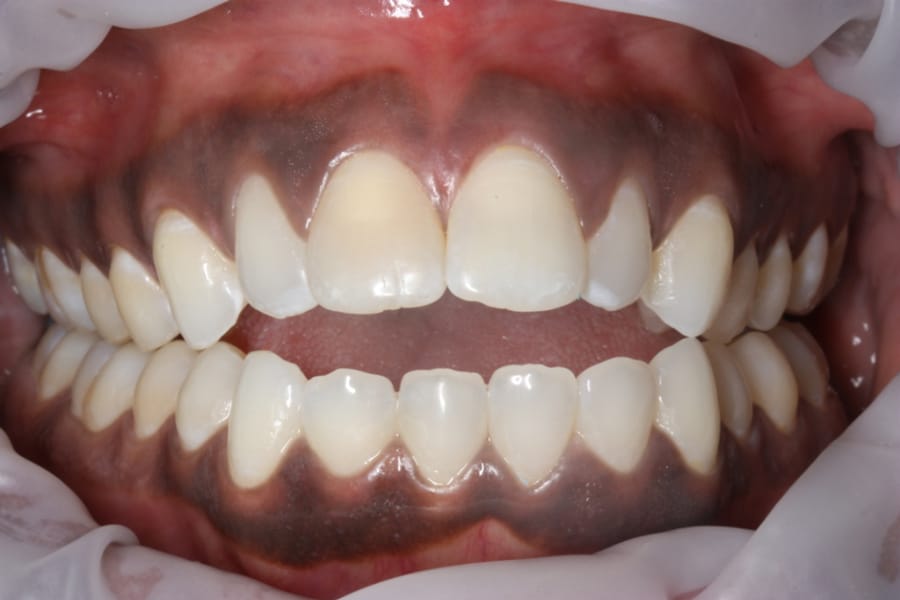
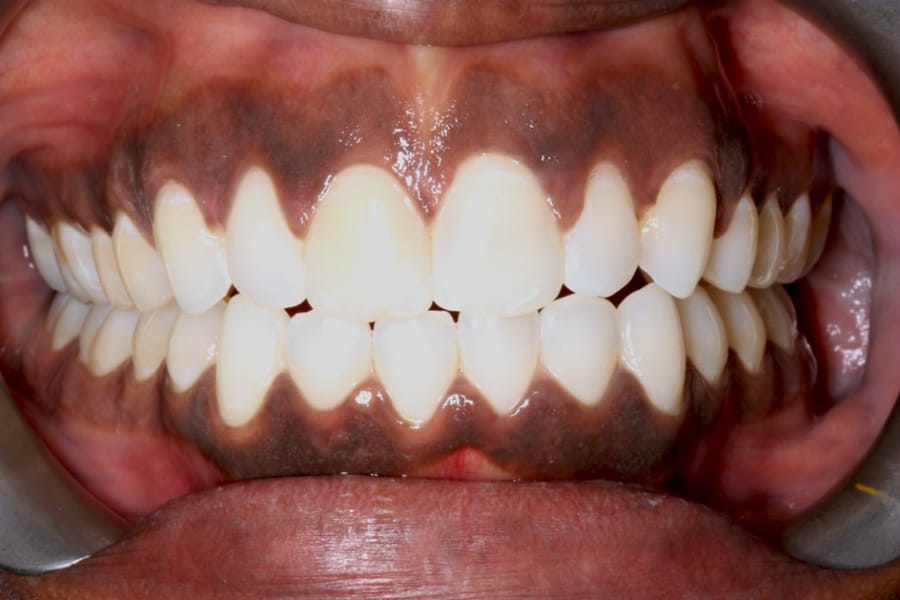
Teeth whitening gallery
-
Internal or inside / outside whitening


Microabrasion and ICON treatment gallery
-
White spot management with ICON resin infiltration
Gum grafting gallery
-
Gum grafting of the upper left 3 and upper right 3 teeth


Crowns gallery


Ceramic veneers gallery


Dental bridges gallery


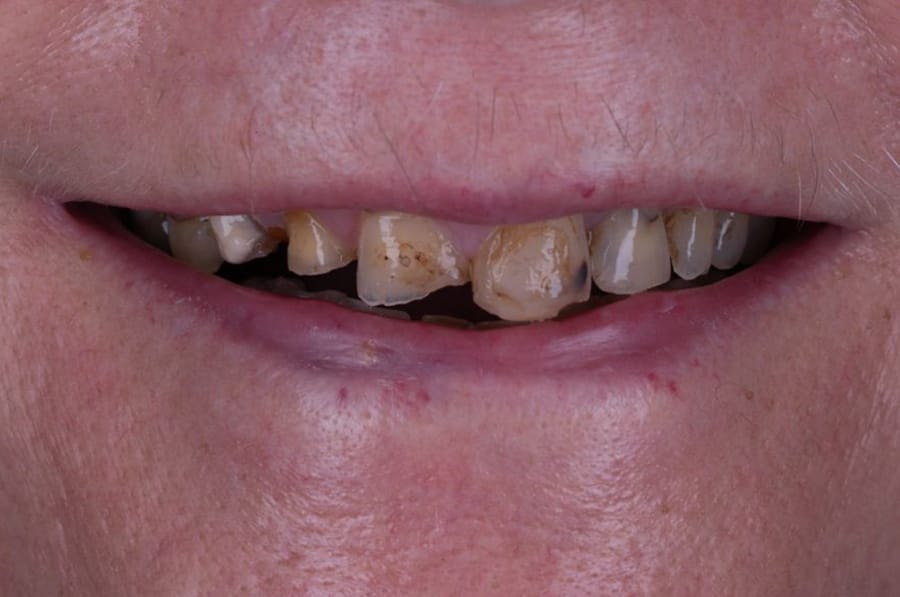
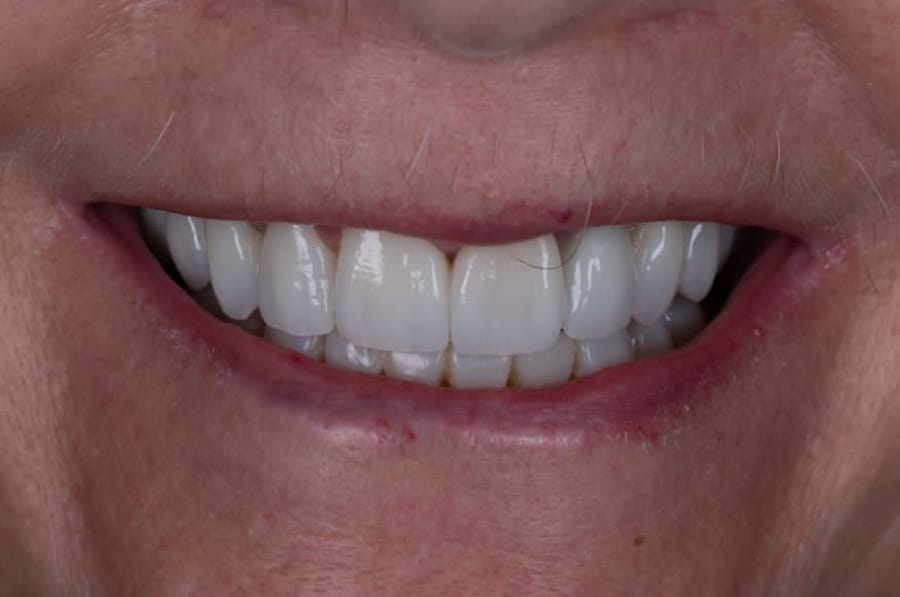
Full mouth rehabilitation gallery


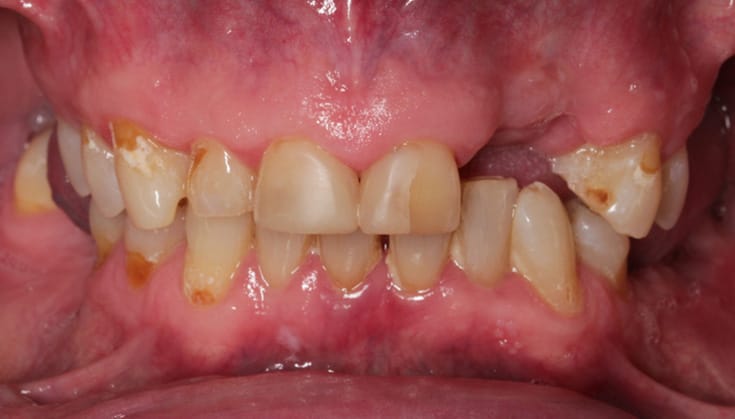
Dental trauma gallery


What do our patients say?
Call us today on 020 8547 9997
Whatever you need, our friendly team is looking forward to hearing from you.
Simply get in touch and we’ll be happy to help.
Find us on Google maps
Get directions